몇달동안 구상만 하다가 며칠새에 뚝딱 만들었다. 역시 사람은 급해야 빨리 만든다.
Asp.net 웹 페이지를 사용해 만들어서 cshtml 파일, js 파일, 서버측 cs 파일이 있다.
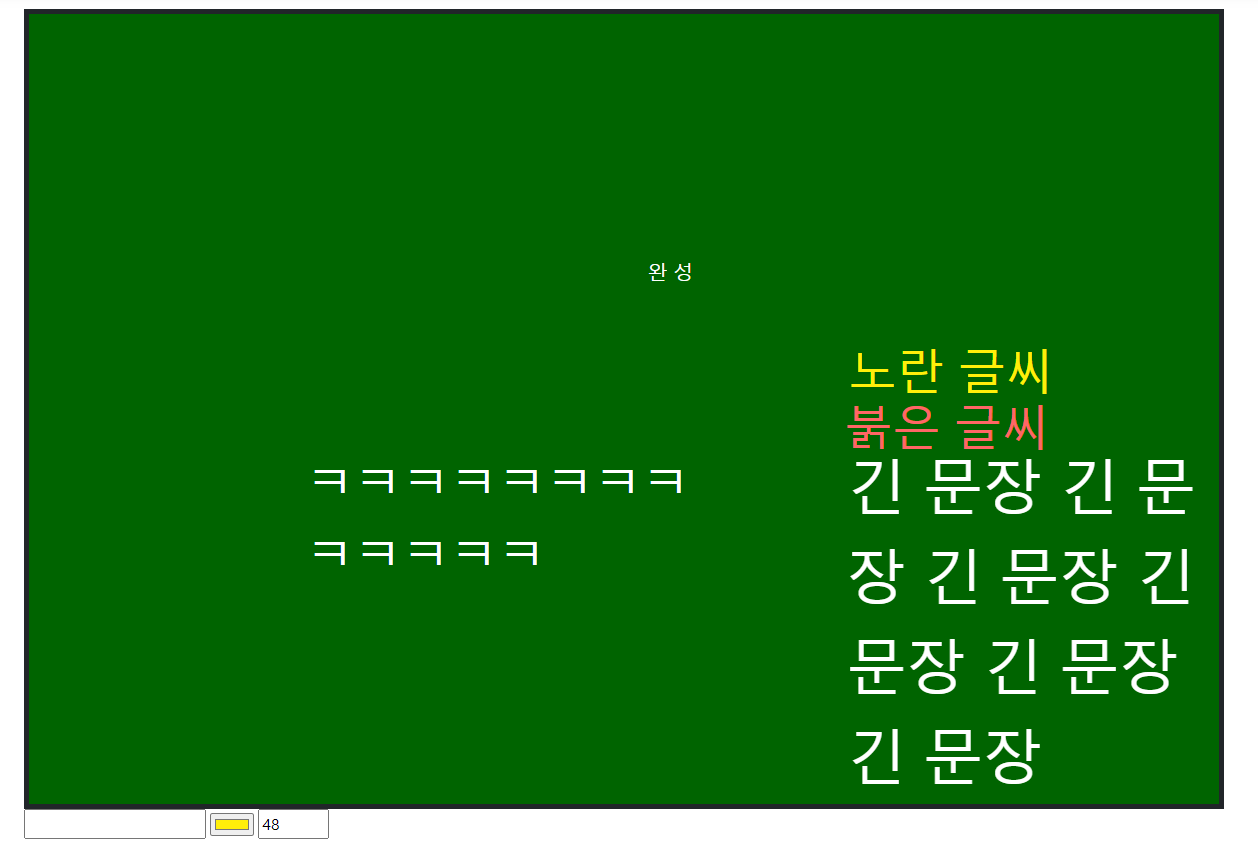
표시되는 UI는 다음과 같다 :
<div id="Canvas"></div>
<input id="say" type="text" />
<input id="colour" type="color" value="#ffffff"/>
<input id="num" type="number" min="12" max="60" step="2" value="20"/>
<style>
    #Canvas {
        width: 1200px;
        height: 800px;
        border: solid 5px;
        position: relative;
        background-color:darkgreen;
    }
</style>
자바스크립트의 핵심 코드는 :
HtmlElement.assEventListener('mousedown', e => {
	var x = e.offsetX;
	var y = e.offsetY;
}
div 내에서 클릭한 좌표 얻기이다.
SignalR 통신에서의 javascript측 핵심은 :
var connection = new signalR.HubConnectionBuilder().withUrl("/talkHub").build();
connection.invoke("InitUser")
connection.on("newTextInServer", ...
당연히 연결하고 주고 받는것이다.
connection.on("newTextInServer", function (text, x, y, color, size) {
    var li = document.createElement("span");
    Canvas.appendChild(li);
    li.innerText = text;
    li.style.left = x + "px";
    li.style.top = y + "px";
    li.style.position = "absolute";
    li.style.width = "400px";
    li.style.fontSize = size + "px";
    li.style.color = color;
});
connection.on에서 오브젝트를 새로 만들어 서식을 적용하는 예제이다.
참고할 수 있으면 참고해 보시지.
await Clients.All.SendAsync("NewTextInServer", text, x, y, color, size);저 신호는 서버측에서 이렇게 준 신호일 것이다.
Clients.All에 대해 실행하므로 모든 클라이언트가 이 값을 받을 것이고. 값을 입력하지 않은 클라이언트에게도 채팅이 표시될 것이다.
전체 javascript 코드는 다음과 같다 :
var connection = new signalR.HubConnectionBuilder().withUrl("/talkHub").build();

var x;
var y;
//로컬 : 클릭 좌표용.
const Canvas = document.getElementById("Canvas");
Canvas.addEventListener('mousedown', e => {
    if (document.getElementById("say").value == "") {
        alert("아래쪽 입력창에 하고 싶은 말을 채우고 눌러주세요!");
        return;
    }
    x = e.offsetX;
    y = e.offsetY;
    console.log();
    newTextRequest(document.getElementById("say").value, x, y, document.getElementById("colour").value, document.getElementById("num").value *= 1);
    document.getElementById("say").value = "";
});
connection.start().then(function () {
    connection.invoke("InitUser").catch(function (err) {
        return console.error(err.toString());
    });
}).catch(function (err) {
    return console.error(err.toString());
});
//이동 버튼
function newTextRequest(i, x, y, color, size) {
    connection.invoke("NewText", i, x, y, color, size).catch(function (err) {
        return console.error(err.toString());
    });
}

//서버측 이동 받으면
connection.on("newTextInServer", function (text, x, y, color, size) {
    var li = document.createElement("span");
    Canvas.appendChild(li);
    li.innerText = text;
    li.style.left = x + "px";
    li.style.top = y + "px";
    li.style.position = "absolute";
    li.style.width = "400px";
    li.style.fontSize = size + "px";
    li.style.color = color;
});
//서버측 이동 받으면
connection.on("InitJsonData", function (text) {
    console.log(text);
    var rar = text.split(/\r?\n/);
    for (var i = 0; i < rar.length - 1; i++) {
        var sText = rar[i].split("\t");
        var li = document.createElement("span");
        Canvas.appendChild(li);
        li.innerText = sText[2];
        li.style.color = sText[3];
        li.style.fontSize = sText[4] + "px";
        li.style.left = sText[0] + "px";
        li.style.top = sText[1] + "px";
        li.style.position = "absolute";
        li.style.width = "400px";
    }
});
전체 서버측 cs 코드는 다음과 같다 :
    public class TalkHub : Hub
    {
        static List<Texts> list = new List<Texts>();
        public async Task NewText(string text, int x, int y, string color, int size)
        {
            var ad = new Texts(x, y, text, color, size);
            if (ad.size > 60) ad.size = 60;
            if (ad.size < 12) ad.size = 12;

            list.Add(ad);
            await Clients.All.SendAsync("NewTextInServer", text, x, y, color, size);
        }
        public async Task InitUser()
        {
            string text = "";
            foreach (Texts t in list) text += t.ToString() + "\n";
            await Clients.Caller.SendAsync("InitJsonData", text);
        }
    }

    public struct Texts
    {
        public int x;
        public int y;
        public string text;
        public string color;
        public int size;
        public override string ToString() => $"{x}\t{y}\t{text}\t{color}\t{size}";
        public Texts(int x, int y, string text, string color, int size)
        {
            this.x = x;
            this.y = y;
            this.text = text;
            this.color = color;
            this.size = size;
        }
    }
또한 적당한 곳에 이걸 뭍여넣었더라도 추가로 해야 할 작업이 있다.
ASP.NET Core SignalR 시작하기 | Microsoft Docs
ASP.NET Core SignalR 시작하기
이 자습서에서는 ASP.NET Core SignalR을 사용하는 채팅 앱을 만듭니다.
docs.microsoft.com
여기 나오는 걸 중간과정까진 해야 한다.
끝.
ㄴ
Azure 쓰고싶다...